Artist Q&A Guides
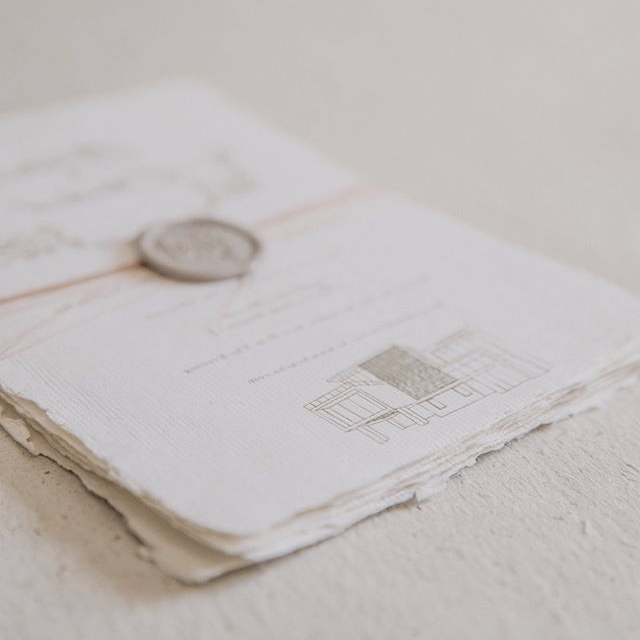
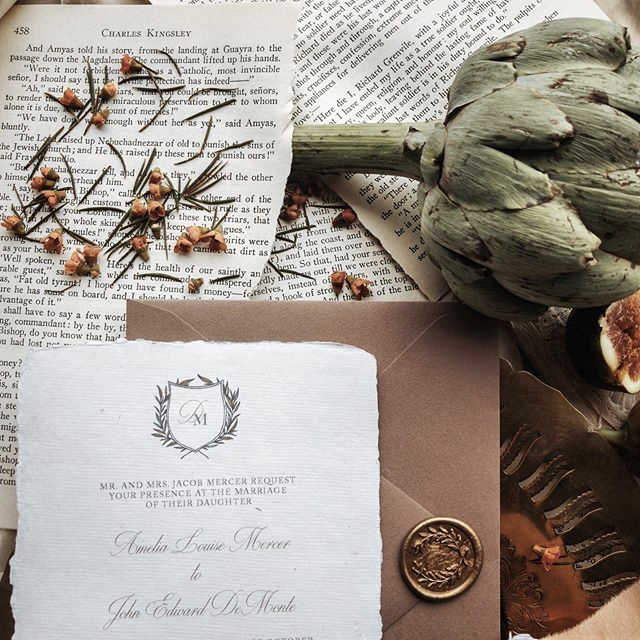
Advice for printing on handmade deckle edge paper
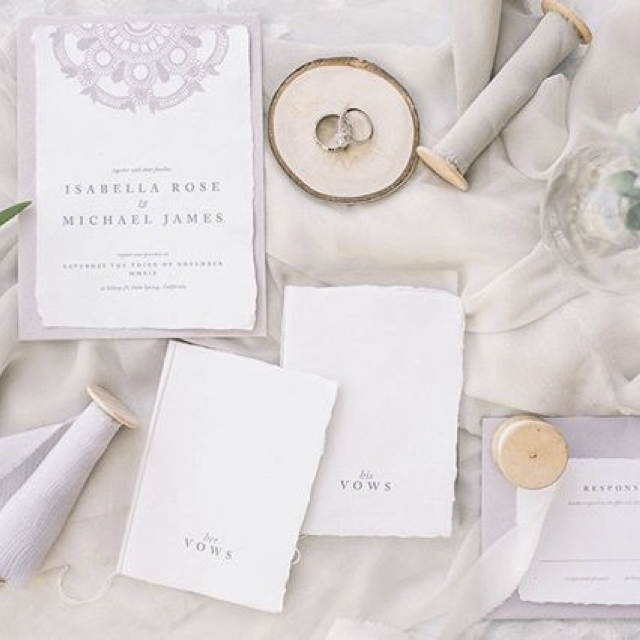
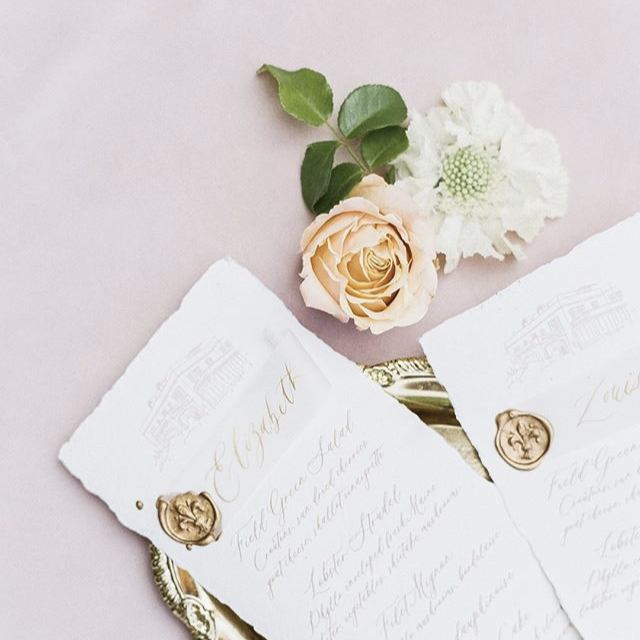
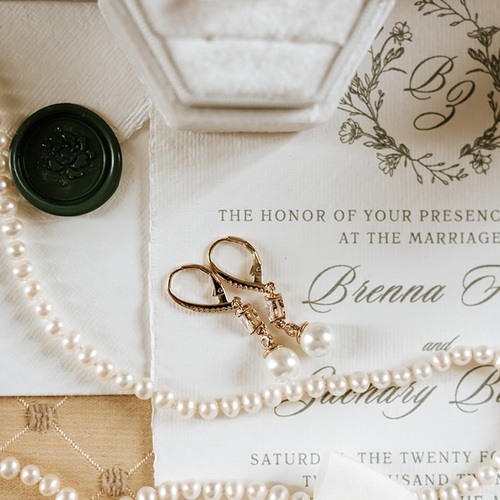
Printing on handmade deckle edge paper can be difficult for newcomers to the medium – from navigating printer settings to avoiding ink marks on the feathery edges. We've collected essential tips to help, covering equipment and techniques from some of our favourite stationery designers – including when it's best to opt for a professional design and printing service.
Meet the artists
Each of our stationery designers runs their own business creating unique suites with their own aesthetic for weddings and special occasions. They give their insights for beginners drawing from their own perspective and experience with handmade deckle edge cotton paper.

Victoria Perez
Victoria is a Mexican fine art and editorial designer. She began running a fine wedding stationery studio in 2017 based in the Philadelphia suburbs. She finds her inspiration from the diverse architectural, natural, and visual culture that Mexico offers. With 10+ years of experience in editorial design, she loves infusing her artistic background into today's weddings. Subconsciously, she's adopted a Mexi-French style because of an Iberian/European influence in her life.
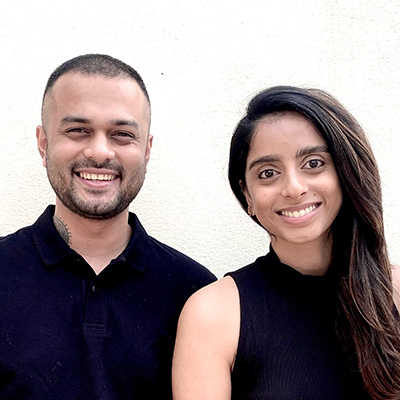
Taaneya & Aditya
Taaneya & Aditya run Invite Much – a boutique design studio based in Bangalore, India. As designers they aspire to incorporate modern design, tradition, thoughtful aesthetics, and unexpected layouts to reimagine love and celebration. Taaneya and Aditya love to experiment with different materials, paper, and printing methods to create truly unique suites for their clients.

Martina Lyons
Originally from Slovakia, Martina works from her studio in the medieval town of Girona in the beautiful region of Catalonia. Martina's work incorporates her skills in as a calligrapher, artist, and illustrator. Nature is Martina's biggest source of inspiration, no matter the season of the year.
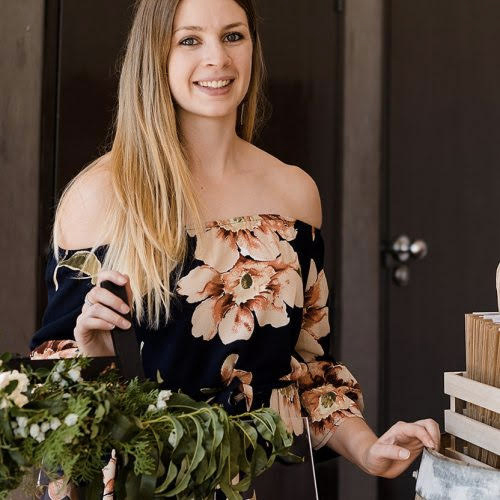
Heidi Phillpot
Heidi runs Quill – a bespoke stationery studio based in regional Australia. As an artist at heart, her designs feature luxury hand crafted elements from painted florals, hand lettering and her unique style of venue illustrations. Paper has been a large part of her creative life starting when she was a young child who loved the art of quilling. Creating wedding stationery allows her to explore and build on her passion of all things paper.
Questions & Answers
Designing with handmade paper
Printing at home
- Do you have any tips when printing at home?
- What advice do you have for aligning sheets?
- Which printer do you use?
- What thickness do you recommend for printing at home?
Professional printing
Printing illustrations
Printing light colours
DIY-vs-professional printing
Designing with handmade paper
Why do you use handmade paper?
"I simply love it. I feel like it connects you to another type of art and adds value to the end piece. It’s the perfect mix of knowing that somebody took the time to create each piece, having the natural texture and the timelessness all together."
"We use handmade paper because of the tactility and expressiveness it adds to our work. It feels like a love letter from our client to their guests. The property of it feeling handcrafted, elevated and personalised is what draws us to it as well. It's a great choice for our brand because it aligns with our philosophy of celebrating imperfections and authenticity. We recommend handmade paper to clients who have the budget for it. It definitely makes our work a lot more special and brings a certain sense of uniqueness to it. And, our clients love that!"
"As an avid paper lover, handmade paper offers a unique quality that others just cannot match. There's a rawness and beauty in the imperfections."
"Handmade paper is a beautiful medium that gives a special and unique look to wedding stationery. I love to combine handmade paper invitations with a classic envelope. It leaves even better contrast when the handmade paper has deckled edges and the envelope has beautifully sleek and smooth surface. It's a perfect combination of modern and classic look. I do also love handmade paper envelopes as well though! Each of them are so unique, and with their deckled edges they look like they are full of history. They are just perfect with with wax seals and silk ribbons."
Printing at home
Do you have any tips when printing at home?
"When you are printing digitally on handmade paper you have to be careful as the printer can sometimes leave ink on the edges. A little trick – try to iron the edges before printing so they are flat."
"I would highly suggest considering more pieces than needed, especially if it's the first time that you’ll print at home!"
"First and foremost, have patience because it's a slower process than having it printed at a facility. Order extra paper to do a few test prints and have them for when it prints misaligned. A colour adjustment to your files may be needed as this paper absorbs a lot of ink which results in a darker colour output. In most home printers, you may get a paper jam even if there is no jam. This shows up because your paper rollers collect fibre from the handmade paper and are unable to reel new paper in. Pro tip: Use a cotton ear bud with distilled water to clean the rollers. There are plenty of YouTube videos available on how to do this. "
"Make sure you get extra paper to test print on. Getting the paper to feed through can be tricky and I normally find that if it won't feed, I need to put the tiniest piece of double sided tape on the back and stick it to a standard piece of paper. Also, always make sure your printer heads are cleaned prior to printing. Unfortunately there's not a lot you can do about getting ink on the edges, it's helpful to use the envelope print setting for the best results. And always have a knife or scalpel on hand to 'pull' away the edges that have got ink them to keep the deckled edge."
What advice do you have for aligning sheets?
"Since each piece may have an irregular shape, in order for the information to be as centered as possible and to avoid wasting paper, we actually sort them out and print in sets of 5. That way we are able to align each set to the corner of the printer tray and guarantee that (almost) all of the sheets will be good to go!"
"Depending on how your printer feeds paper, I usually try to set a custom paper size in my print settings to ensure it is printed correctly. Otherwise I will put a small piece of double sided tape on the back and stick it to the top corner of an A4 page, making sure you select the correct positioning in your print dialog."
"Print in smaller sets of 10-15 and try to use sheets from a similar batch. The batches are easily identifiable as they look very similar. In some cases, carefully tearing off small bits of the thinner edges on the paper generally helps get a better result as the printer finds it easier to process."
"I always put the square corner in the top left and I always make a proof print on a same sized piece of normal paper so I can see how it is going to look. I also have spare handmade paper for proofs so I make a concept print to see how the ink gets attached to paper, e.g. whether it fills up the tiny imperfections on surface of the paper. I set up printing on the highest resolution. I should say that I do not print stationery at home for my clients as I don't have a professional printing machine, for this purpose I contact my printer in town. So I only print at home for styled photo shoots and my own proofs, to make sure all the set up is correct – that design is centered, sizes of elements, layout is correct, before going to a professional print shop."
Which printer do you use?
"We use a mid-range HP smart tank 790 printer. This printer optimises colour distribution fairly well and is cost-effective. It can print over 6,000 colour prints consistently with just one refill. This was our first choice when we purchased a studio printer and we're quite happy with it!"
"An Epson Expression XP-960. Its a great mid-range printer with amazing print quality. If budget allows, the Canon Pixma 100 is a very popular choice among stationers."
What thickness do you recommend for printing at home?
"I prefer using 300 gsm. It will usually run smoother through the printer! Using 200 gsm works for longer pieces but you can encounter more jamming troubles with this weight."
"Anything under 250 gsm will go through most home printers."
"Medium thickness paper of 200 gsm is perfect for calligraphy and digital or flat printing. Thicker paper of 210 gsm can be used for a shallow letterpress and heavy paper (250-300 gsm) is ideal for letterpess as it leaves beautiful deep impression. I use and also offer in my portfolio digitally printed design on handmade paper of 210 gsm thickness. Many calligraphers and stationers don't offer this option but I think it looks beautiful and it's also great for day-of items like table numbers, table plans, and menus – meaning you can match them with your wedding invitations."
"200-300 gsm is our recommendation. Anything higher could cause paper jams and misaligned artwork on your sheets."
Professional printing
Have you ever used professional digital printing services?
"We usually print everything in-house! However, for white ink on dark paper we typically outsource, mainly because I always prefer having someone with more experience on that area work on our pieces. Typically, 30% extra pieces are required for the margin of error."
"Yes all the time! In reality if you're printing large orders, there's nothing that quite compares to the quality a professional print company. Plus the added advantage of saving time."
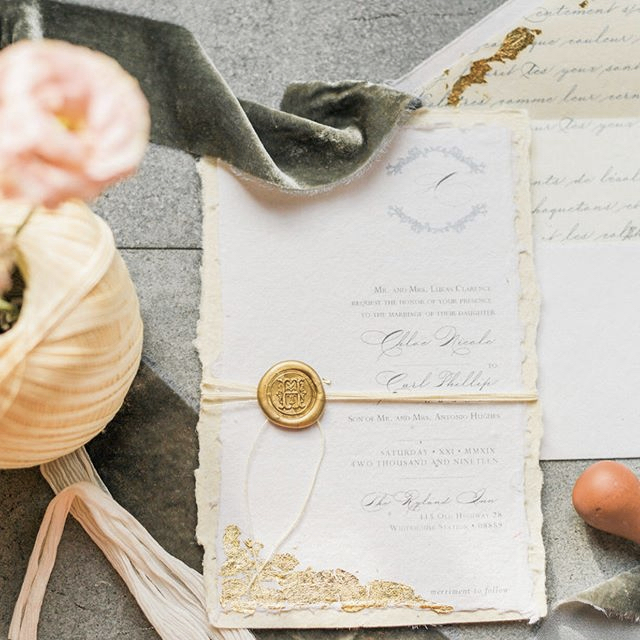
"Yes, and I absolutely love the result of professional digital printing on your handmade paper! The lines are extra fine, crisp, and the black print is super black – just elegant and beautiful! My local print shop uses a Xerox Colour C60/C70 machine The size of your paper I used for my invitation designs are typically A6, so my town-printer just sets the printing to A6 card size which can be chosen in the settings. They also selected "scale paper to size" (each printing machine has the same or similar name for this option). Initially, we tried to print some invitations first to test whether the machine would take the paper and there was no problem, in fact it went quite easily, and we were very happy with the result! Digital printing is a great option for clients whose budget is not that high but still want to use handmade paper. It really looks great, those fine lines really get me! I tend to print on White and Ivory pieces and both look amazing, I especially love the combo on White paper, it's gorgeous! I understand the unbeatable beauty of letterpress and gold/metallic hot foil, but digital printing definitely also has the magic, too."
Printing illustrations
What is your workflow with illustrations and hand written elements in a printed design?
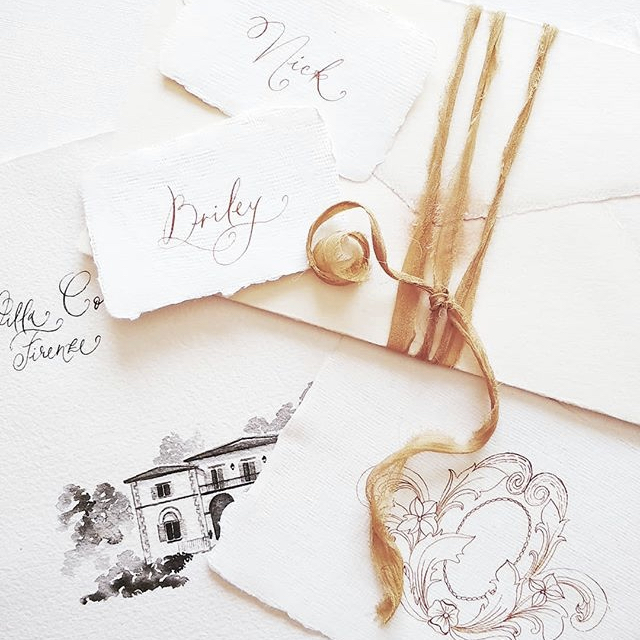
"I always sketch my illustrations first and then use a piece of transparent paper to sit over the sketch and do a pen version with more detail. Next, I scan the sketch, take it into Illustrator and vectorise it. Then it's ready to go into any design at any size!"
"I love to do real drawing, illustrating, and painting. If I'm doing an illustration I would first draw the illustration on white paper, scan it, and then clean it in Photoshop. I then edit it in Illustrator, changing the illustration from pixels into a vector by tracing it, and also making it transparent so I can use it for printing purposes. With this process I can adjust it without loosing quality – I can make it bigger, smaller, print over non-white surface, set it under the text, over the text, overlay it etc."
"All our work is produced and designed in house. Most times we start with a simple sketch on paper and then work on digitising this on Adobe Illustrator and Photoshop. When we work with collage and imagery, we go straight to Photoshop to cut out, finesse and paint on elements we're using in our work."
Printing light colours
Do you have experience printing light colours on dark paper?
"Yes, I absolutely love this! As long as your design works in a single colour then it will work printing in specialised inks like white ink."
"Yes, however we prefer outsourcing for this type of work to a professional who specialises in it."
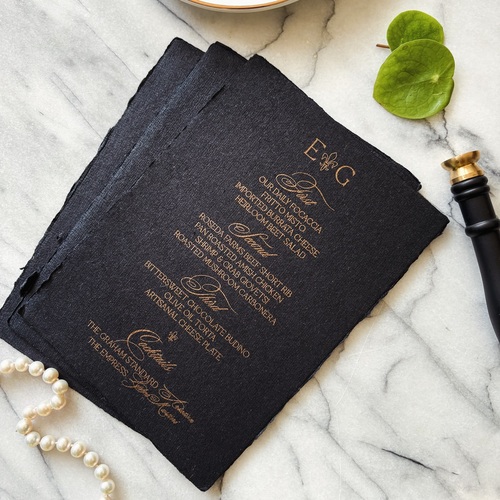
"I did try to print a design at home using lighter ink on dark/black handmade paper but it didn't work. It's necessary to buy white ink toner, it is a special toner for printing in white on darker papers."
DIY-vs-professional printing
Do you have any advice for brides that are thinking of using a designer rather than print their invitations themselves?
"I would suggest for you to talk to your stationer about the vision that you have and the budget that you’d like to work with. There could be many options available for you that you’re not aware of! My tip – trust your vendors."
"In general, if you like a designer's style and taste, trust them fully to take care of everything for you. Wedding, or any other kind of stationery, is very complex work! Personally, I prefer and make everything from scratch, I now only offer custom designs, so when my clients get the final stationery in their hands, finished and beautiful, they are ready to send to their guests. My clients don't have to worry about paper options, printing options, design, colour selection, materials etc, they trust me to take care of it all for them. As a designer, I have a lot of experience with tools, techniques, workflow, and know the end-to-end process to get the best result possible. I am very grateful for my clients and their trust because it is not easy to communicate virtually and not to see designs personally, but they are always very pleased with the end result. I would never create anything that I don't like myself, I am a detail-lover!"
"Wedding stationery is all about aesthetics and taste. It's a true reflection of your love story and a celebration of your love, so it's helpful to partner with a professional design studio such as ourselves to help bring this vision to life. We truly focus on the finer details. Every font is carefully picked and a color palette is crafted to be thoughtful and sophisticated. We love using design elements in unexpected ways, with an ode to culture and tradition. We set the bar high and strive to create something timeless for our clients, with a focus on the finer details that requires a detailed eye with years of practice."
"At the end of the day it all comes down your wedding style, time, and budget etc. If you are looking for something that you will treasure and keep as a memento of your big day than I would highly recommend hiring a designer to assist you. Designers are in that profession for a reason - they are highly trained and experienced in what they do so you can be sure of an amazing finished product."
